Implementation of Single Sign On (SSO) in ASP.NET MVC
- Posted in:
- MVC
- Single Sign On (SSO)
- ASP.NET
What is Single Sign On (SSO)?
To access any secured page in a web application, the user needs to authenticate and if the user want to access multiple web applications then the user have to login for each of those application individually. Logging in multiple times can be eliminated with Single Sign On i.e. user has to login only once and can access web multiple applications.
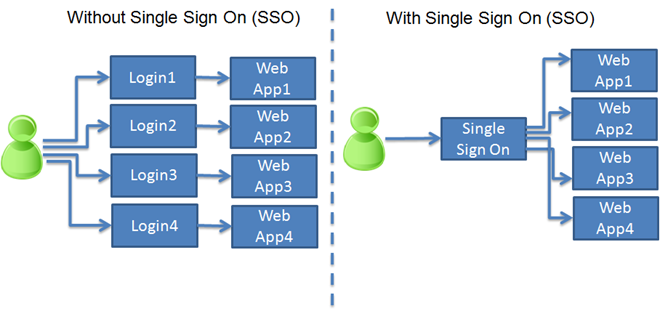
How to enable Single Sign On?
The key for enabling Single Sign On is machineKey and authentication (forms). All the Web Applications should have the same configuration to make it work.
    <machineKey validationKey="<MachineKey>"
                decryptionKey="<DecryptionKey>" validation="<CryptoAlgorithm>" decryption="<CryptoAlgorithm>" />
    <authentication mode="Forms">
      <forms name="SingleSignOn" loginUrl="<SSOLoginURL>" timeout="480" slidingExpiration="true">
       </forms>
    </authentication>
How to implement Single Sign On in ASP.NET MVC?
Implementing SSO in ASP.NET MVC is very simple. Below is the step by step approach to implement it.
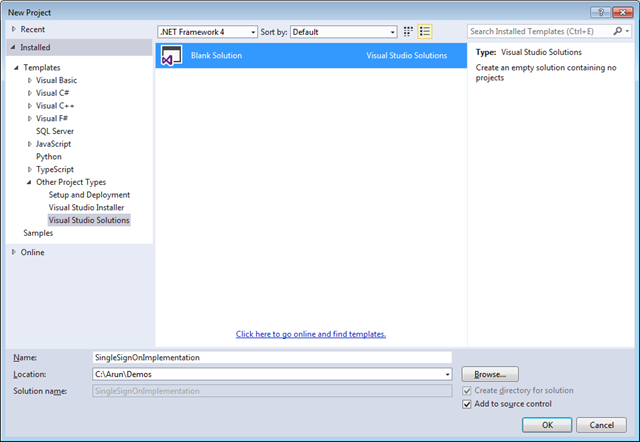
1. Open visual studio, create a blank solution (I always like to start off with a blank solution).
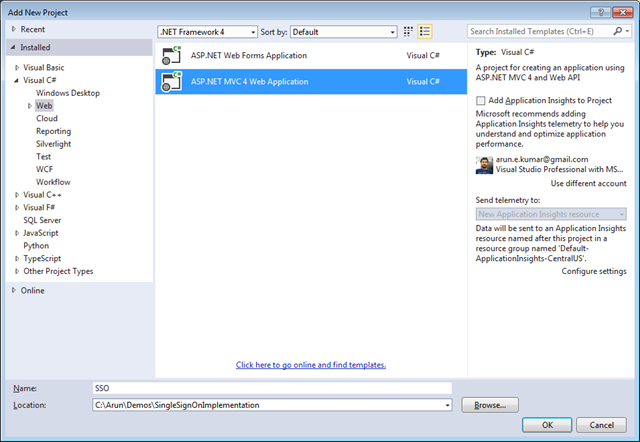
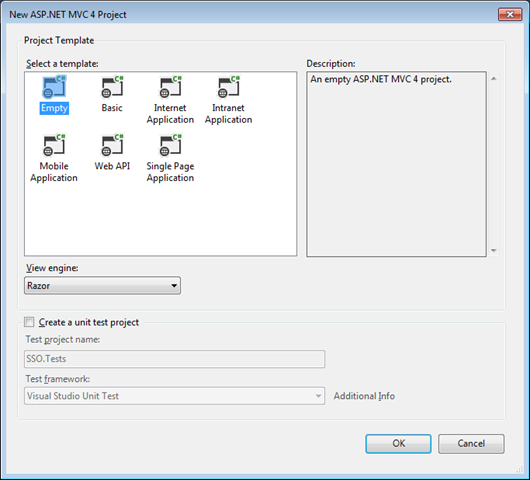
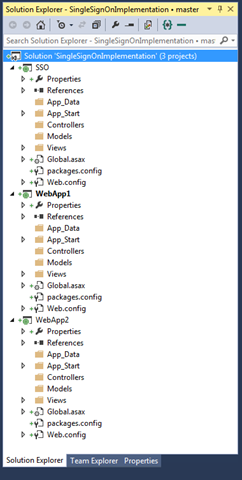
2. Now add three empty ASP.NET MVC Web Applications (SSO, WebApp1 & WebApp2) to the solution.
3. The solution should look something like below.
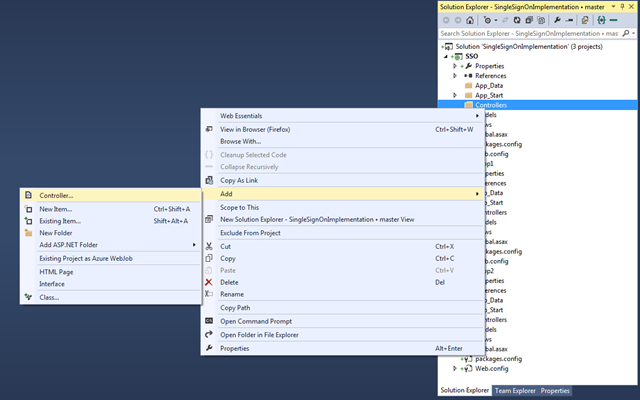
4. Add an AccountController in SSO, this should contain the code for login.
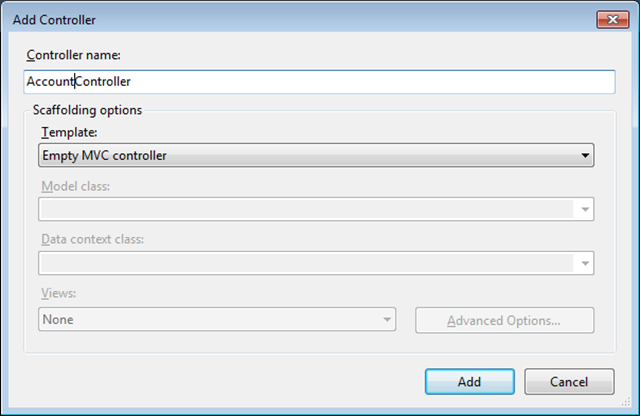
5. Write some simple forms authentication code like the below in the AccountController. For the demo purpose I am using FormsAuthentication.Authenticate method which will simple check the credentials stored in web.config and authenticates if username and the password are valid, you can also validate username and password stored in sql sever database.
using System.Web.Mvc;
using System.Web.Security;

namespace SSO.Controllers
{
  public class AccountController : Controller
  {
    [AllowAnonymous]
    public ActionResult Login(string returnUrl)
    {
      if (Request.IsAuthenticated)
      {
        return RedirectToAction("Index", "Home");
      }

      ViewBag.ReturnUrl = returnUrl;
      return View();
    }

    [AllowAnonymous]
    [HttpPost]
    [ValidateAntiForgeryToken]
    public ActionResult Login(string username, string password, string returnUrl)
    {
      if (FormsAuthentication.Authenticate(username, password))
      {
        FormsAuthentication.SetAuthCookie(username, false);
        if (!string.IsNullOrEmpty(returnUrl))
        {
          return Redirect(returnUrl);
        }
        else
        {
          return RedirectToAction("Index", "Home");
        }
      }
      else
      {
        ModelState.AddModelError(string.Empty, "Invalid login details");
        ViewBag.ReturnUrl = returnUrl;
        return View();
      }
    }
  }
}
6. Now we need to add a html form in the login view for the users to login.
@{
  ViewBag.Title = "Login";
}

<h2>Login</h2>
@using (Html.BeginForm(new { ReturnUrl = ViewBag.ReturnUrl }))
{
  @Html.ValidationSummary()
  @Html.AntiForgeryToken()
  <div class="form-group">
    @Html.Label("Username")
    @Html.Editor("UserName")
  </div>
  <div class="form-group">
    @Html.LabelForModel("Password")
    @Html.Password("Password")
  </div>
  <input class="btn btn-primary" type="submit" value="Login" />
}
7. Add machineKey to web.config of SSO, WebApp1 and WebApp2. You can create your own machine keys by following this or simple generate online from here. The machineKey should be added under system.web.
  <system.web>
    <machineKey validationKey="E4451576F51E0562D91A1748DF7AB3027FEF3C2CCAC46D756C833E1AF20C7BAEFFACF97C7081ADA4648918E0B56BF27D1699A6EB2D9B6967A562CAD14767F163"
                decryptionKey="6159C46C9E288028ED26F5A65CED7317A83CB3485DE8C592" validation="HMACSHA256" decryption="AES" />
8. Add forms authentication to web.config of SSO, WebApp1 and WebApp2. For WebApp1 and WebApp2 <credentials>…</credentials> is not required as we will authenticate users from only AccountController of SSO.
    <authentication mode="Forms">
      <forms name="SingleSignOn" loginUrl="http://localhost/SSO/Account/Login" timeout="480" slidingExpiration="true">
        <credentials passwordFormat="SHA1">
          <user name="demo" password="89e495e7941cf9e40e6980d14a16bf023ccd4c91"/> <!--password = demo-->
        </credentials>
      </forms>
    </authentication>
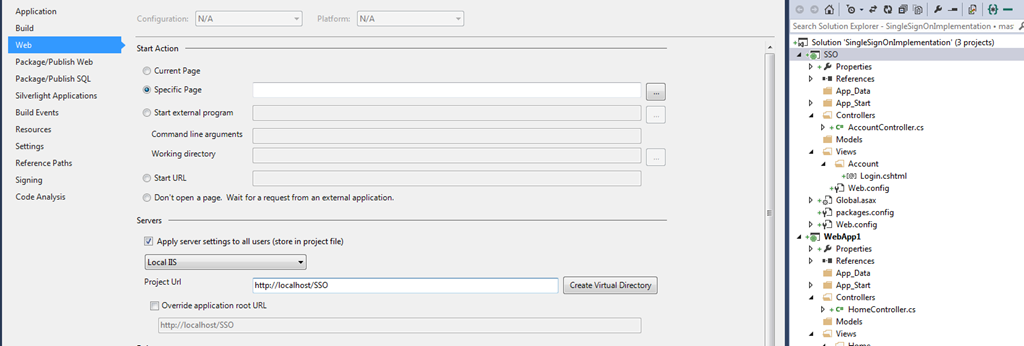
9. As you can see in the above I am using local IIS localhost/SSOto configure it to run from there simple right click on project select the properties and select web like below.
10. To test Single Sign On, add HomeController in both WebApp1 and WebApp2. Do not forget to add Authorize attribute on the HomeController, that will send the unauthenticated users to SSO Login.
  [Authorize]
public class HomeController : Controller
{
  //
  // GET: /Home/

  public ActionResult Index()
  {
    return View();
  }
}
11. Add Index view for the HomeController in both WebApp1 and WebApp2 respectively.
WebApp1/Home/Index.cshtml
@{
    ViewBag.Title = "Web App1 Home";
}

<h2>Web App1 Home</h2>

Logged in as @User.Identity.Name
WebApp2/Home/Index.cshtml
@{
  ViewBag.Title = "Web App2 Home";
}

<h2>Web App2 Home</h2>

Logged in as @User.Identity.Name
12. Now browse for http://localhost/WebApp1 it will automatically redirect to http://localhost/SSO/Account/Login?ReturnUrl=%2fWebApp1%2f
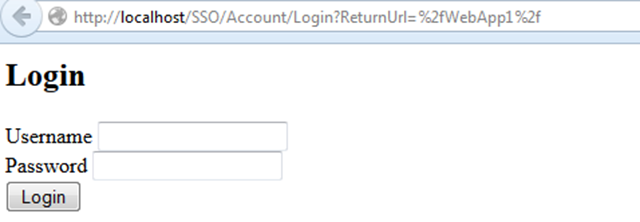
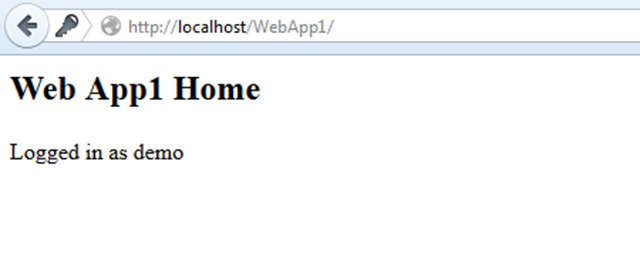
13. Login using Username and Password as demo. On logging in successfully it will automatically take you to http://localhost/WebApp1
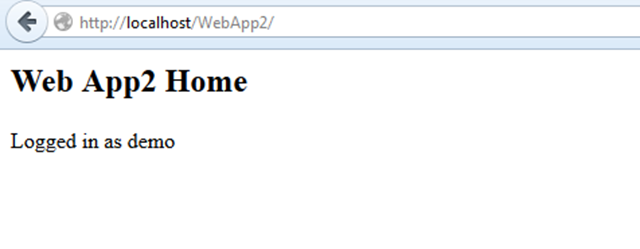
14. Now try to browse http://localhost/WebApp2/. You will see that it automatically login and it shows message as Logged in as demo.
You can get the source code for demo from GitHub https://github.com/arunendapally/SSO.