Create and publish a NuGet package easily
- Posted in:
- nuget
- Open Source
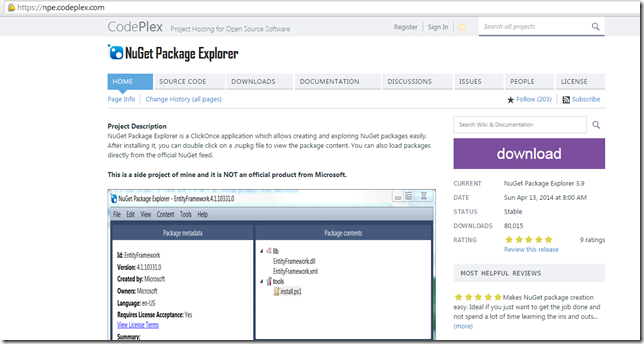
1. Go to https://npe.codeplex.com/ and download NuGet Package Explorer.
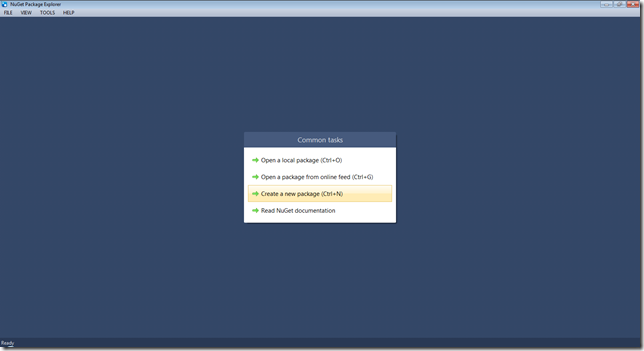
2. Run NuGetPackageExplorer and select Create a new package.
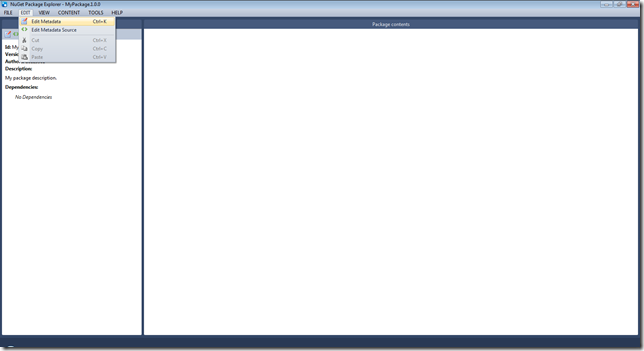
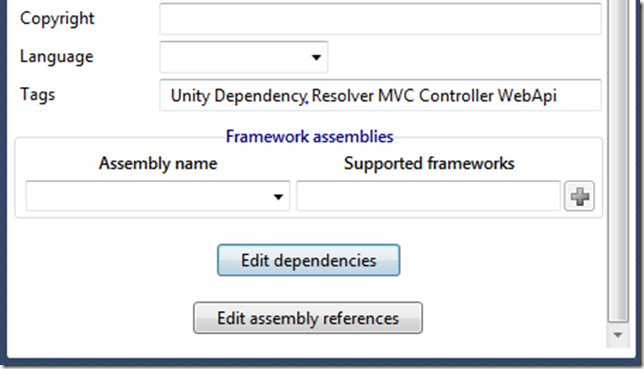
3. The next step is to enter some information about your package for that select Edit Metadata.
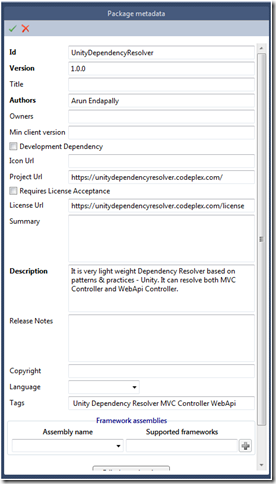
4. Fill out all the relevant information about your package, this will help the users to find your package and install them.
5. If your package have any dependencies you can add them by selecting Edit dependencies.
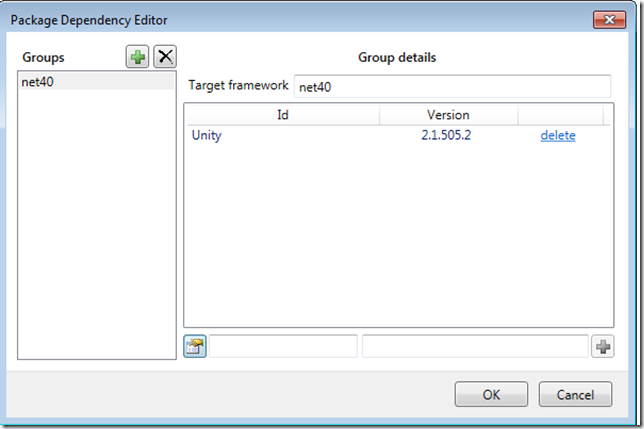
6. On selecting edit dependencies, Package Dependency Editor will open and there you can add a Group and select ![]() Dependency from NuGet feed.
Dependency from NuGet feed.
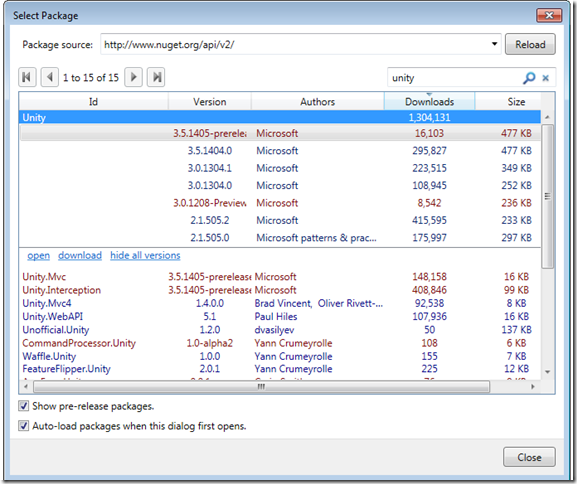
7. A new window will open where all the NuGet packages are listed, there you can search for a particular package and you can also select the specific version.
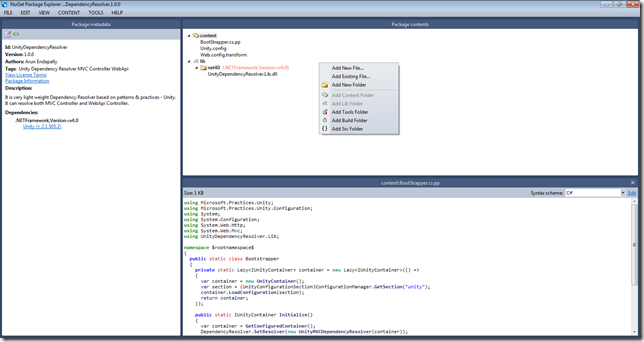
8. After selecting the dependencies, you can come back to Package contents, there you can Add Content Folder,Add Lib Folder or other folders required for your package. These folders will help you chose the location where you want to drop the files when user installs the your package.
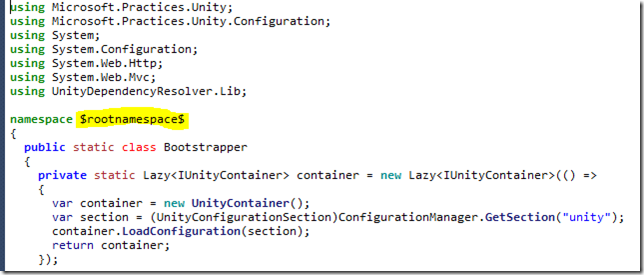
9. You can create files with extension .cs.pp where you can have placeholders and these will get transformed when the user installs the package depending on the project.
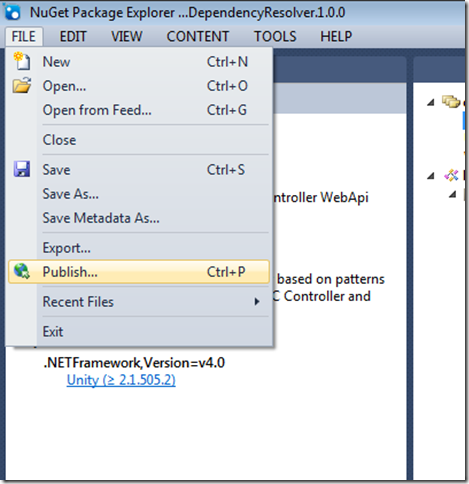
10. That’s it after you are done configuring everything you can choose Save As or Publishdirectly to nuget.org.
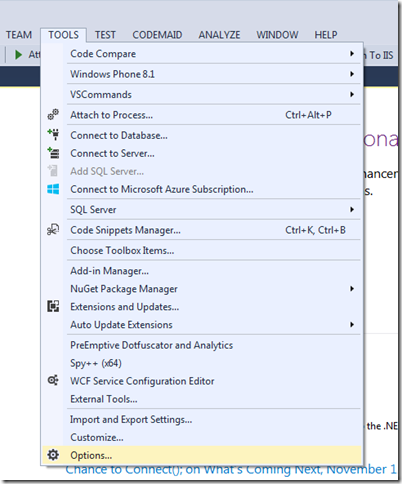
Yeah, I know that was easy right? but rather than directly publishing the package on nuget.org I prefer saving it on my local system and test it before I publish it. How to do that is simple, open you visual studio go to Tools>Options
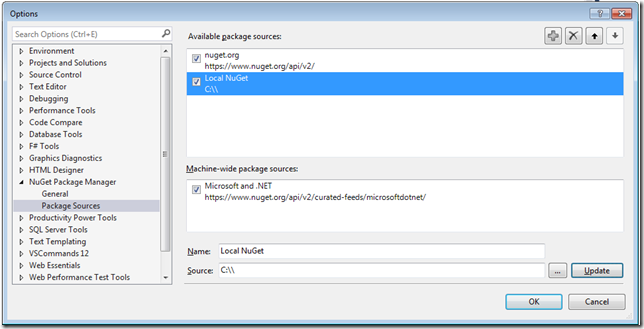
In the options, go to NuGet Package Manager and select Package Sources. There you can add the Local NuGet Source where you saved the package you built. This is help you install and test your package before even you publish it.
